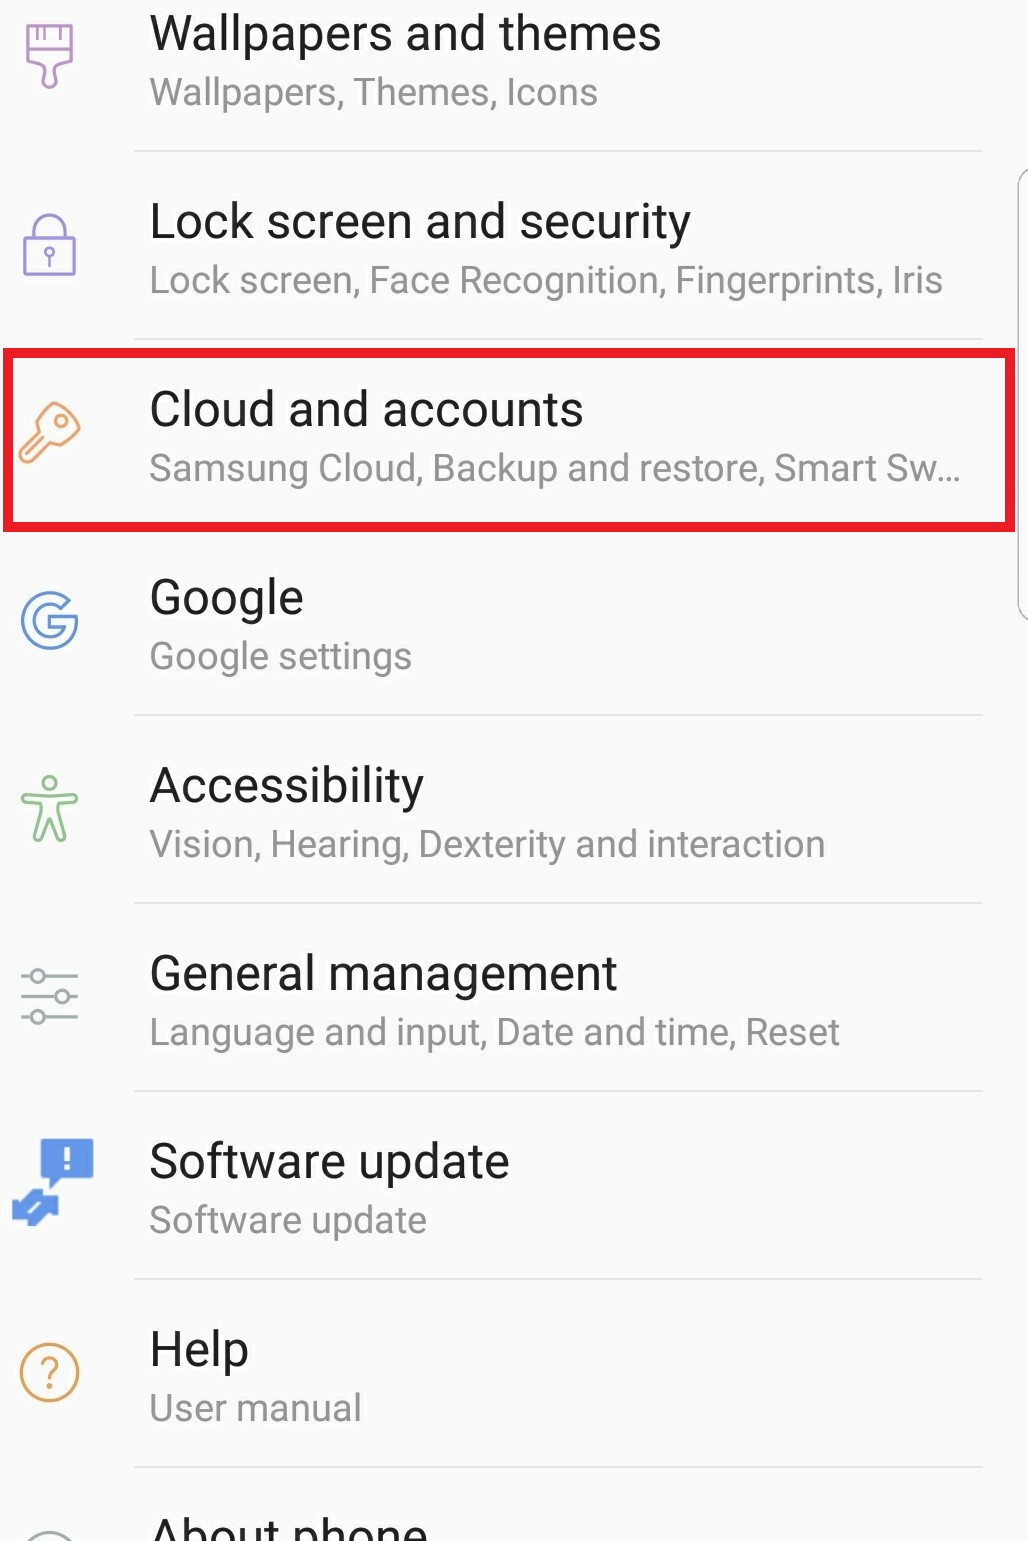
| 1. Press to select "Settings" from the top drag down menu and select Cloud and Accounts
|
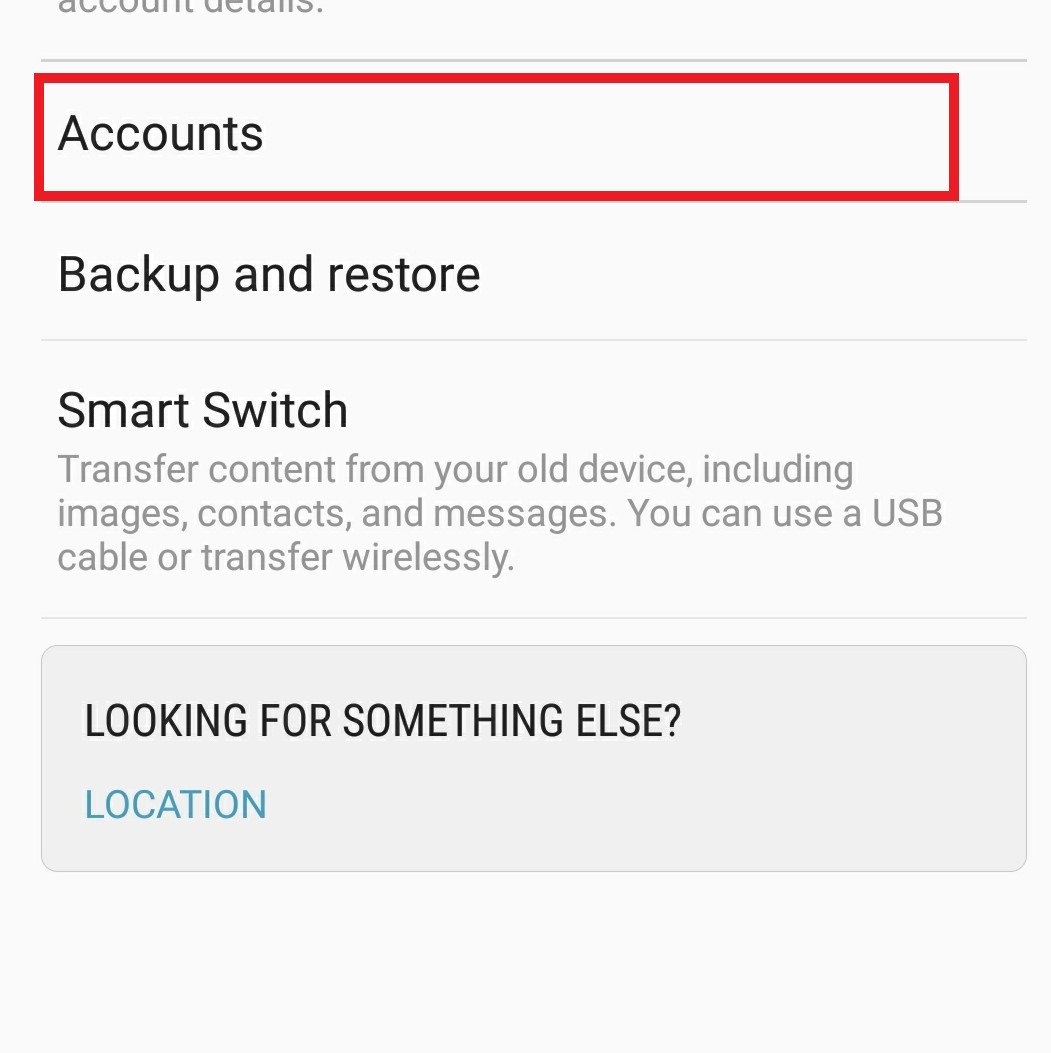
| 2. Press to select "Accounts". |
| 3. Select "Add Account" from the "Account" menu. |
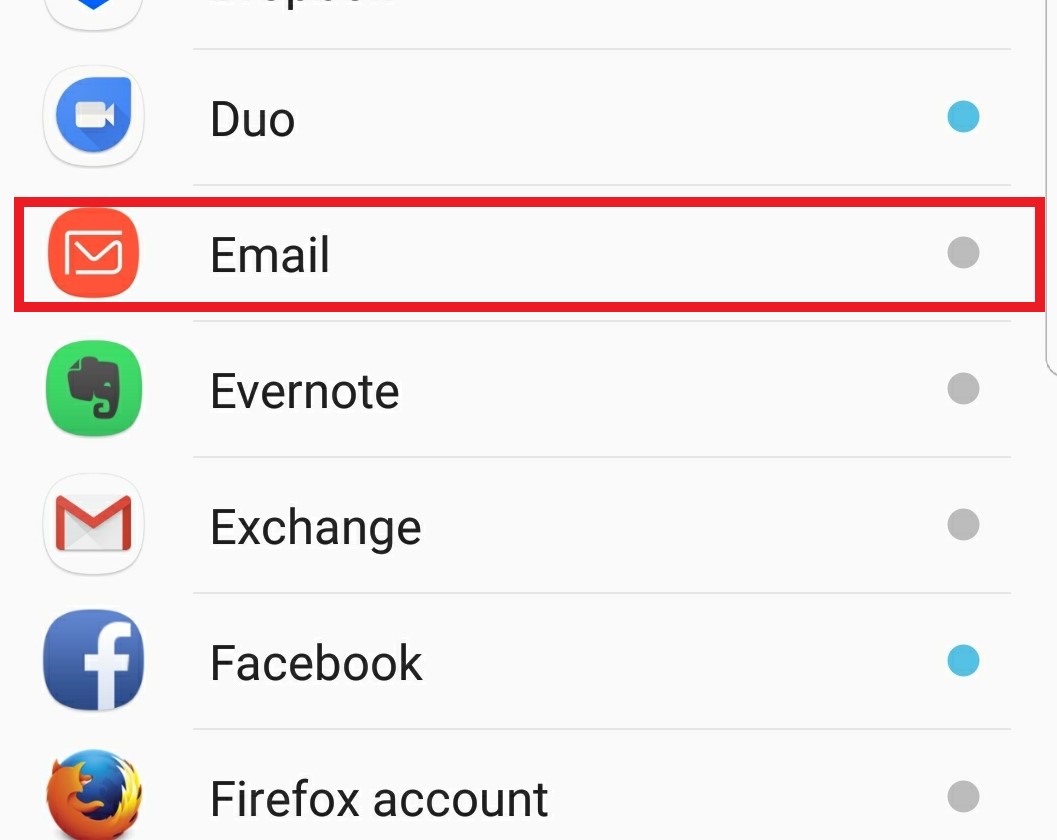
| 4. Select "E.mail". |
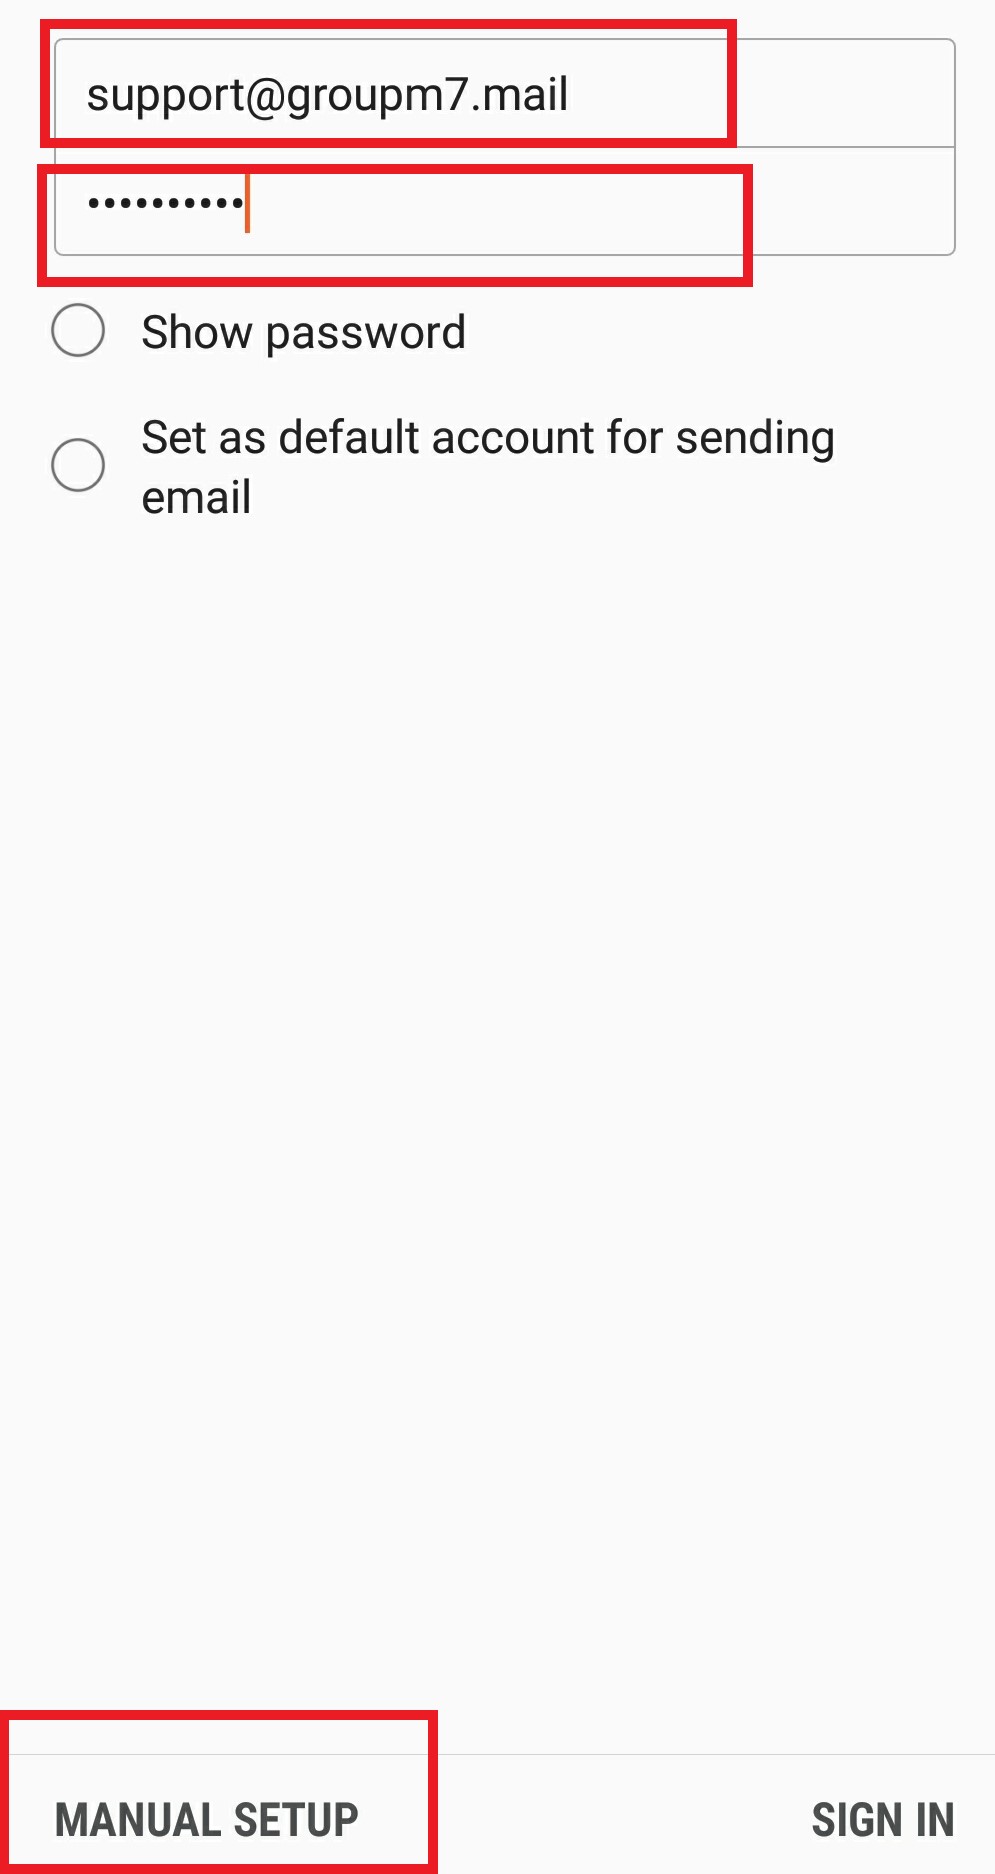
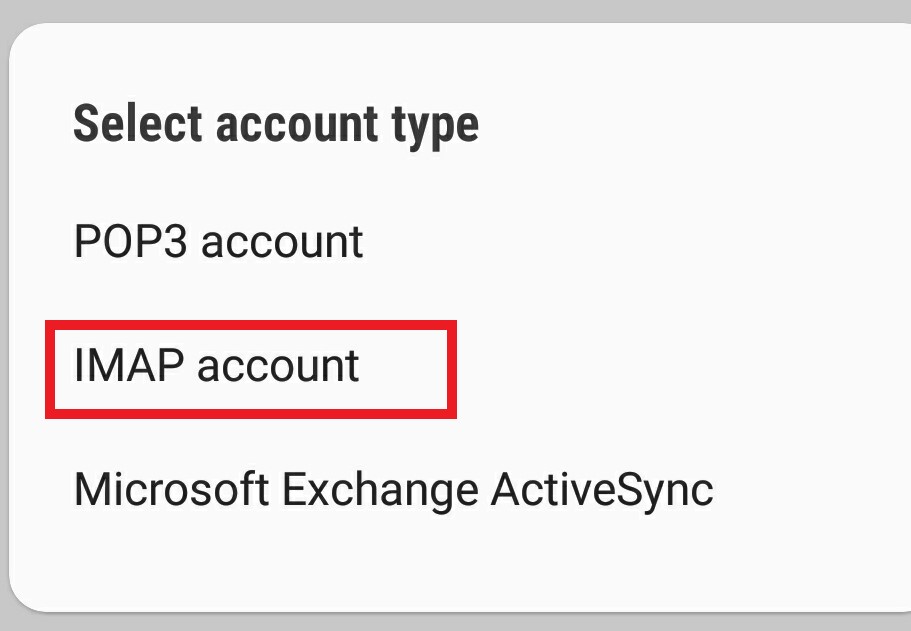
| 5. Type in your E-mail address and Password then click "Manual Setup" Select IMAP as the account type. |
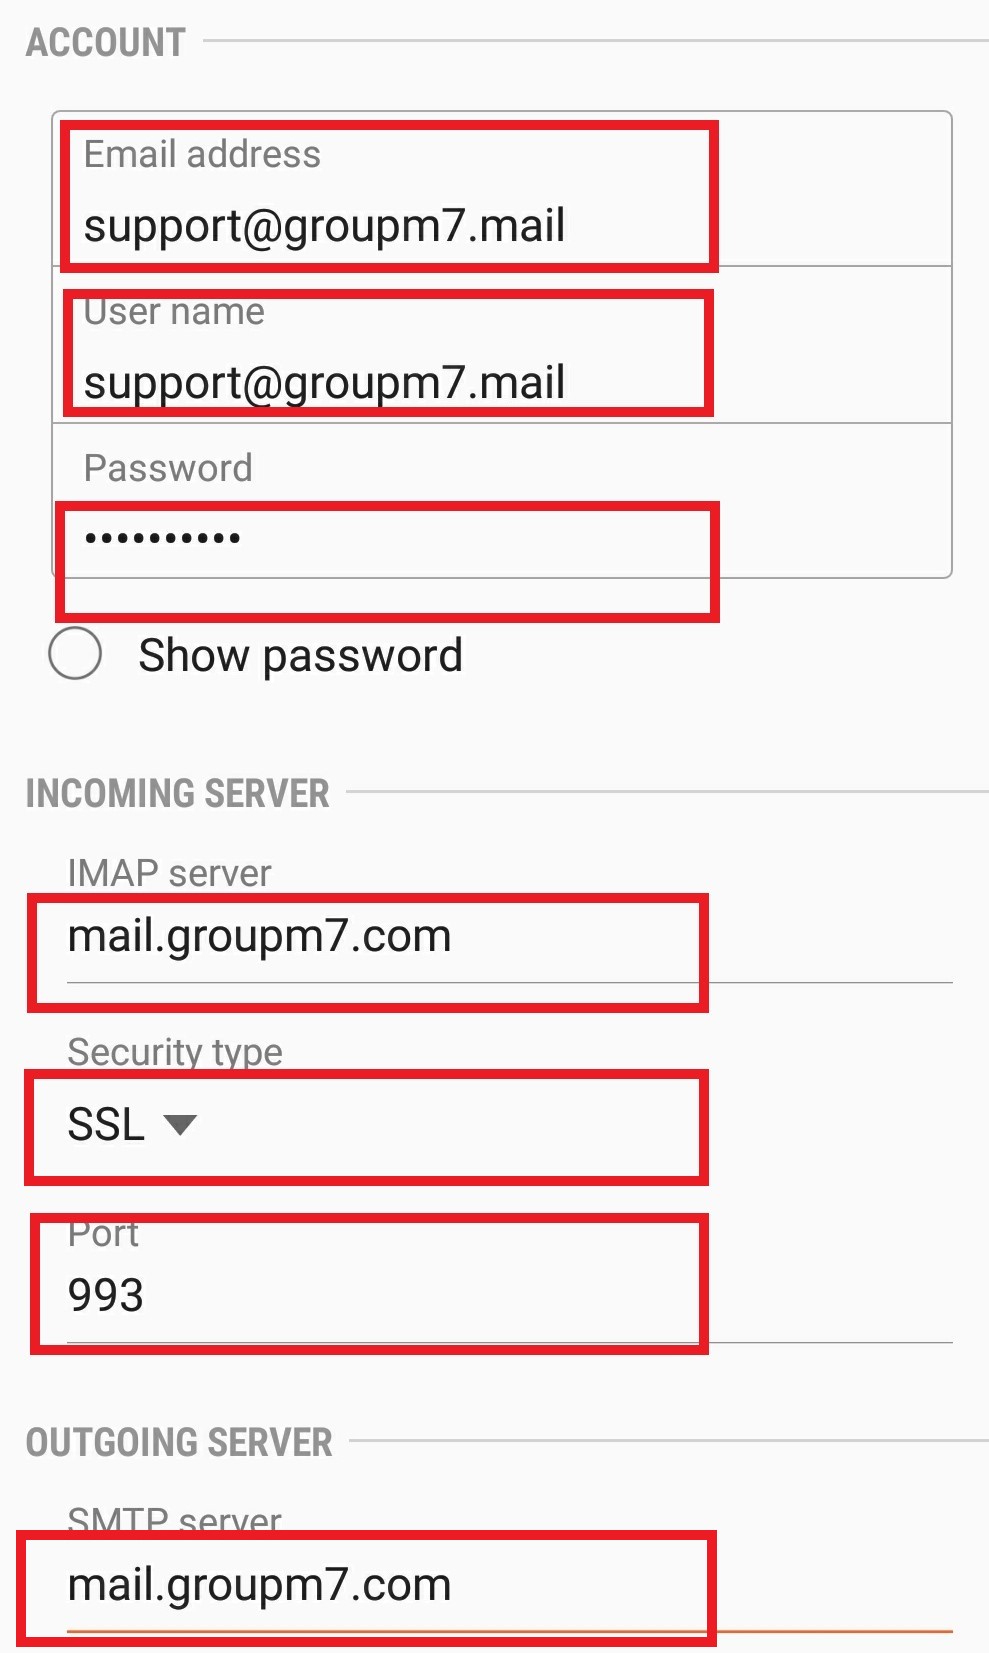
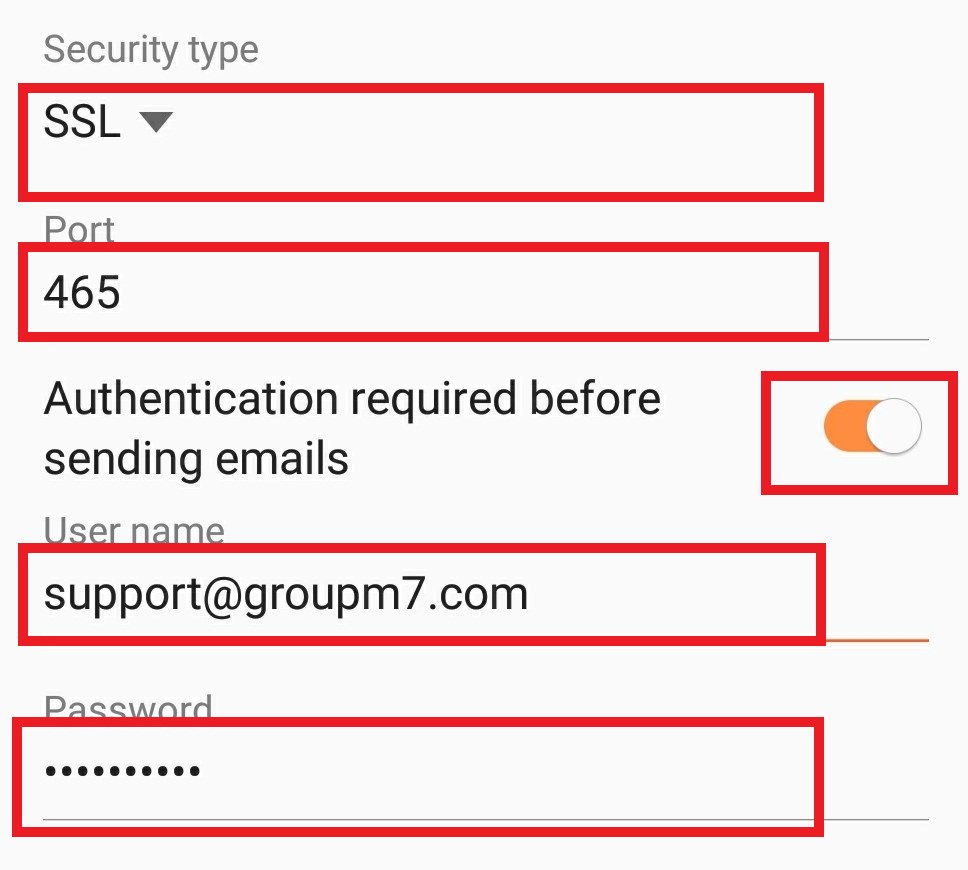
| 6. Input the settings for your Incoming Mail Server. Enter "mail.groupm7.com" in the "Host Name" field. Enter your full email address in the "User Name" field and your password in the "Password" field. Scroll down and input the settings for the Outgoing Mail Server (SMTP). Enter "mail.yourdomain.com" in the "Host Name" field. Enter your full email address in the "User Name" field and your password in the "Password" field. Make sure the Security type is SSL, "Authentication required before sending emails" is on, enter in your full e-mail address and the username and type in your password. Press the "Next" button in the top right hand side of the screen. It will verify the account and it can take up to 3 minutes. |
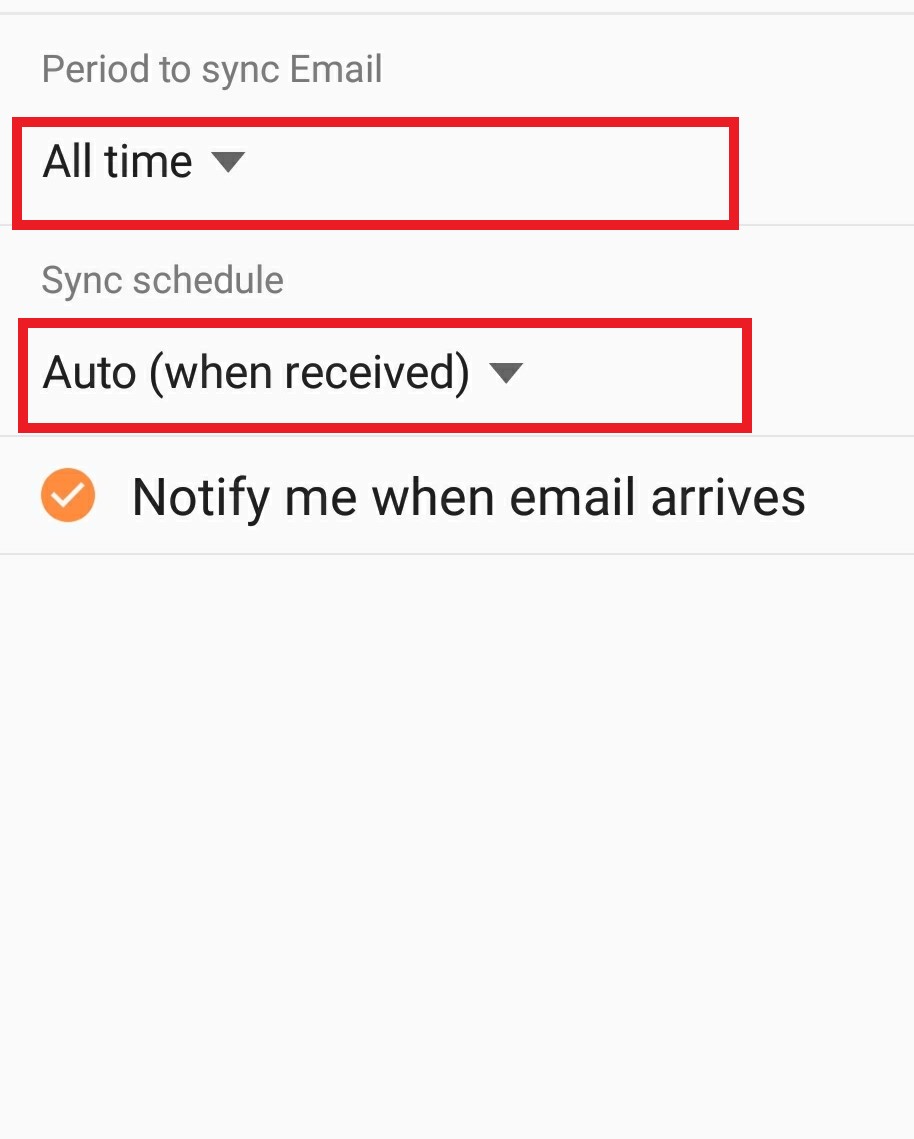
| 7. Select "All Time" for period to sync and "Auto" for Sync schedule. Hit Next |
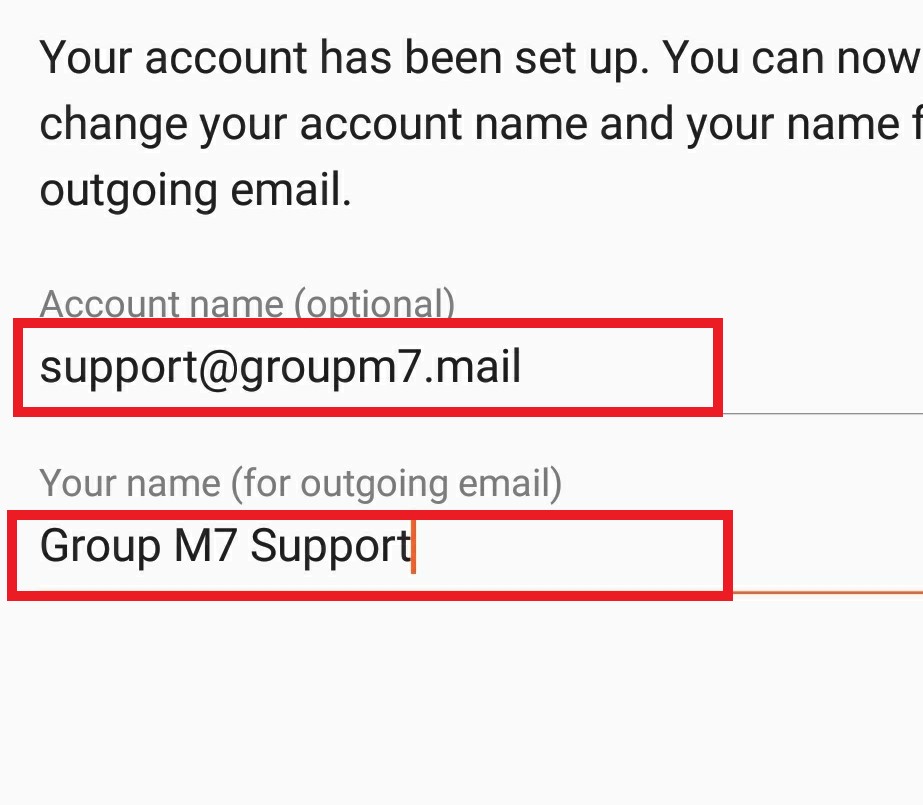
| 8. Give the account a name (anything meaningful to you) and Under your Name, type in your First and Last name (this is what the e-mail will show in the from field on thereceived e-mail) |
9. To check your mail, Click the mail Icon, |