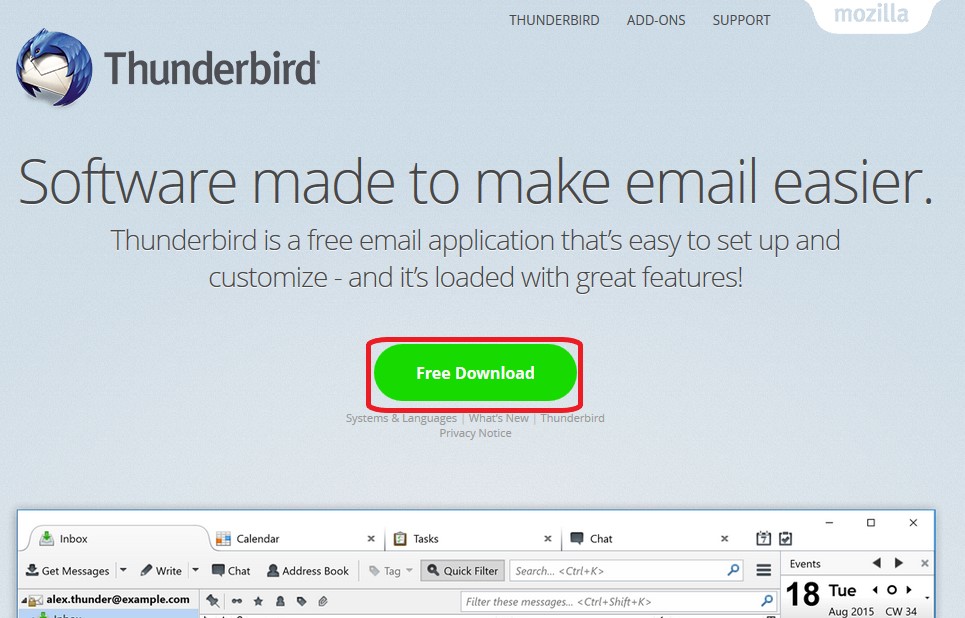
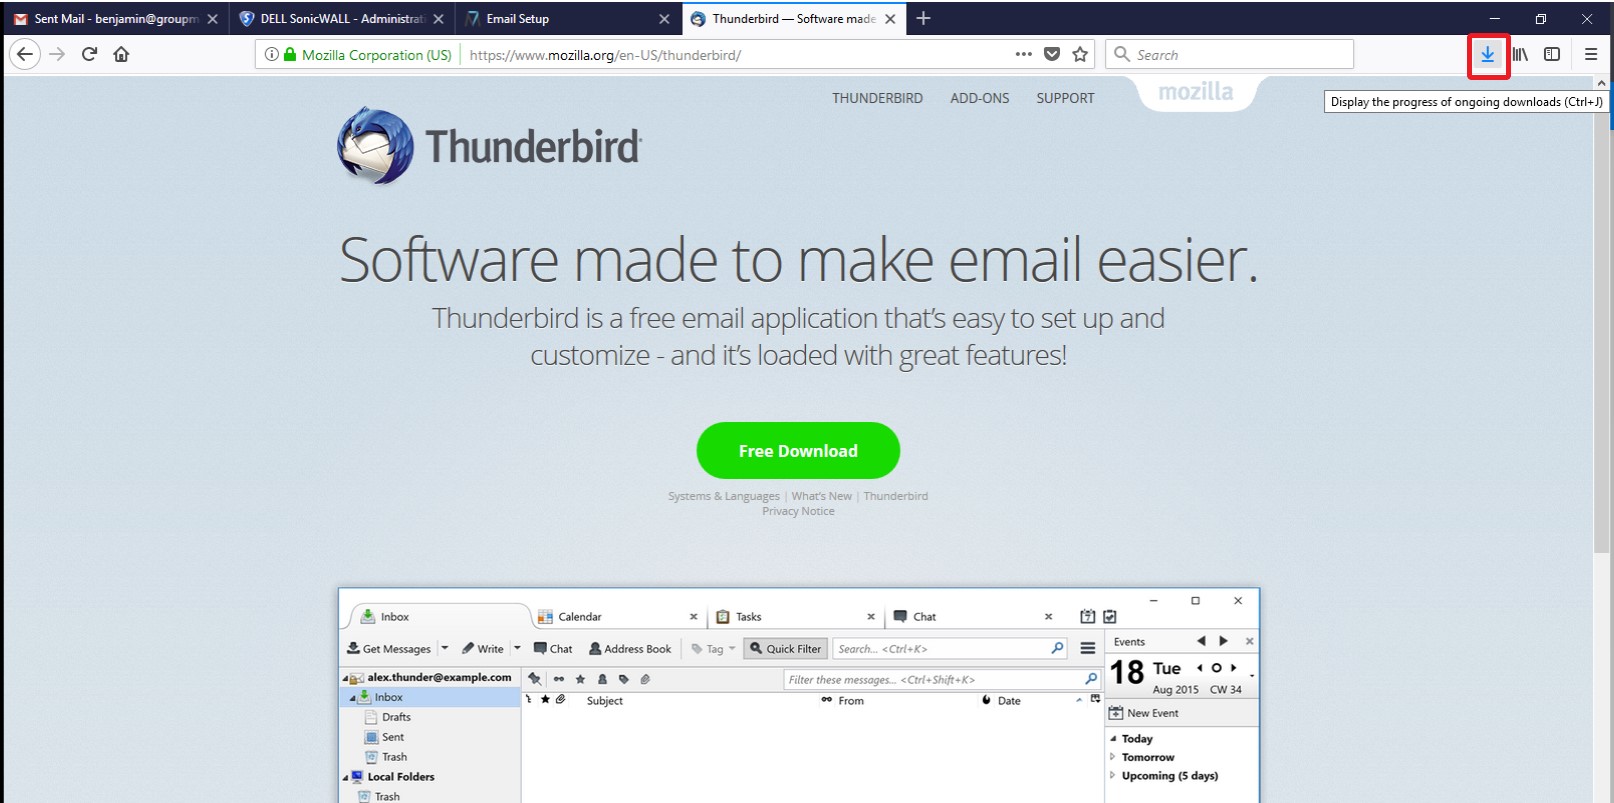
1. Open your web browser and visit https://www.mozilla.org/en-US/thunderbird/
2. Click on the Free Download Button.
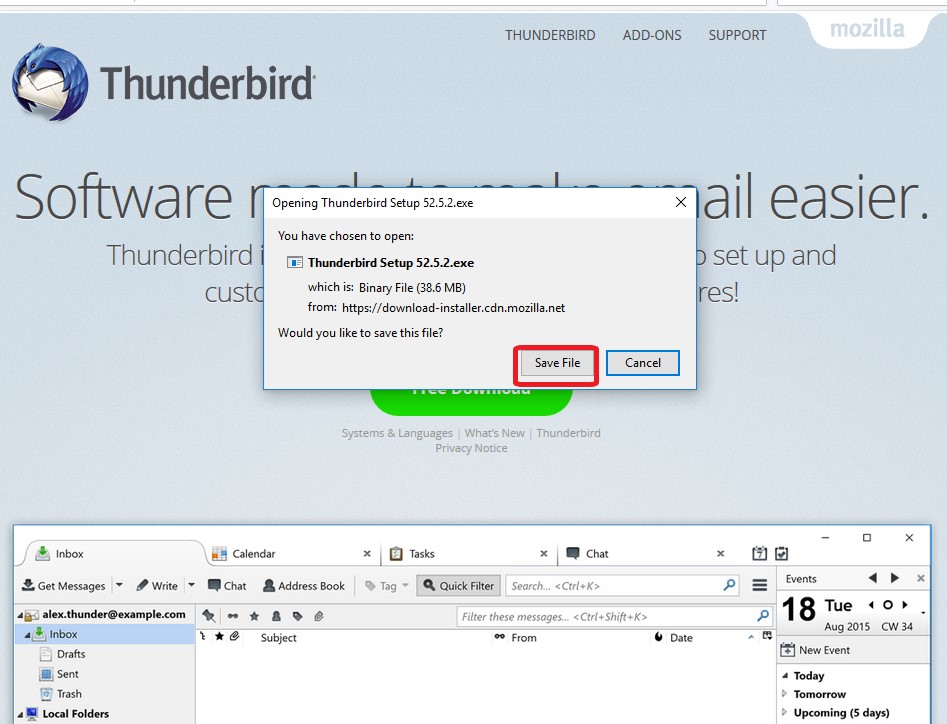
3. Click “Save File” button to download Thunderbird email client
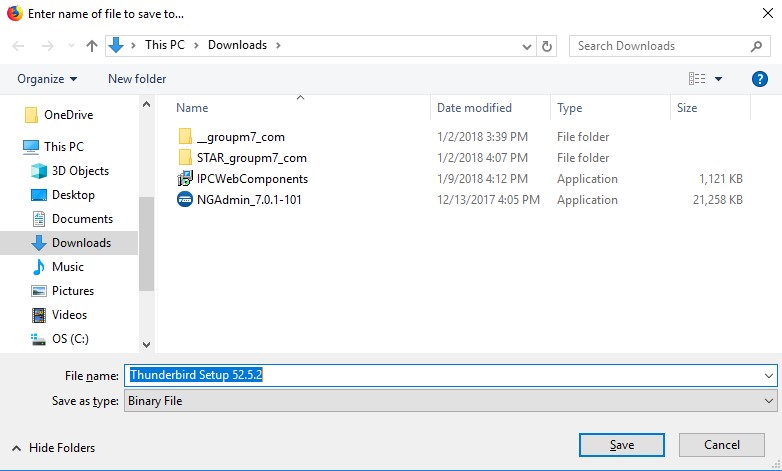
4. By default, any downloads will go to your "Downloads" folder. If you are given a choice where to download Thunderbird to, choose you Downloads folder, and then click Save.
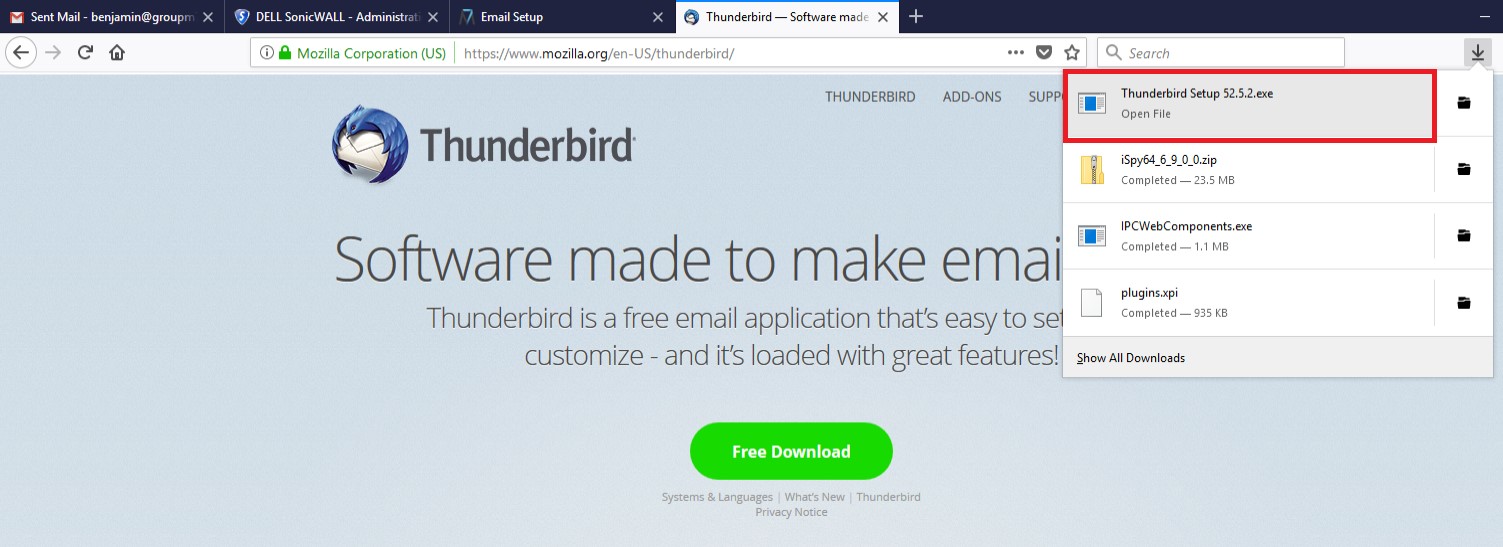
5. When downloading is complete, in your web browser, click on the little blue arrow, highlighted in red shown in the example
6. Click on the Thunderbird file you just downloaded to run the installer:
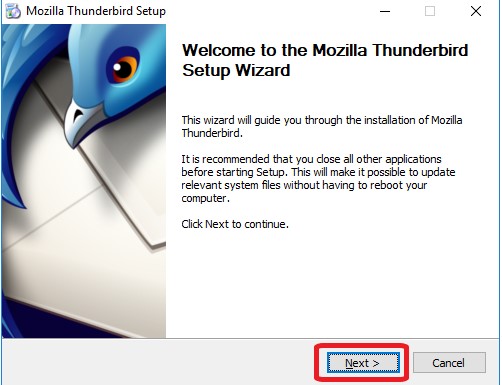
7. Click the Next button to begin install.
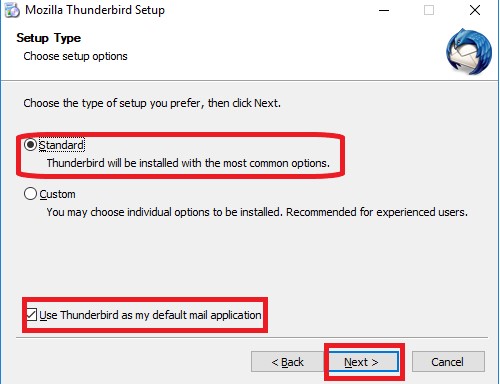
8. Default Setup Type is going to be Standard. Be sure to check the box to Use Thunderbird as my default mail client.
9. Click Next
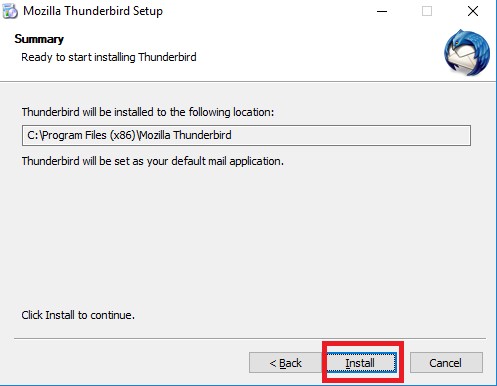
10. This step is to verify installation location. Keep this as it is!
11. Click Install
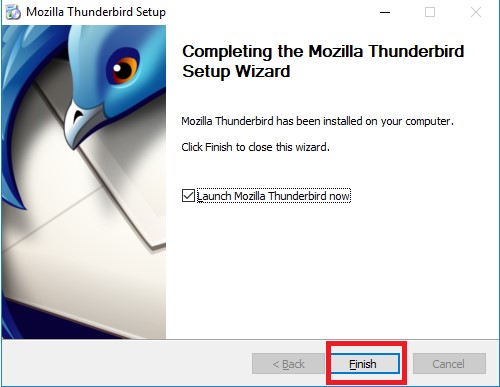
12. Click Finish to begin your account setup!
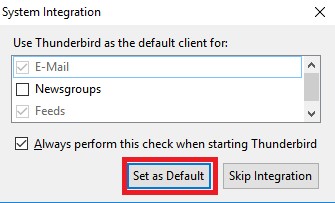
13. Thunderbird will open and show System Integration dialog box
14. Click Set as Default
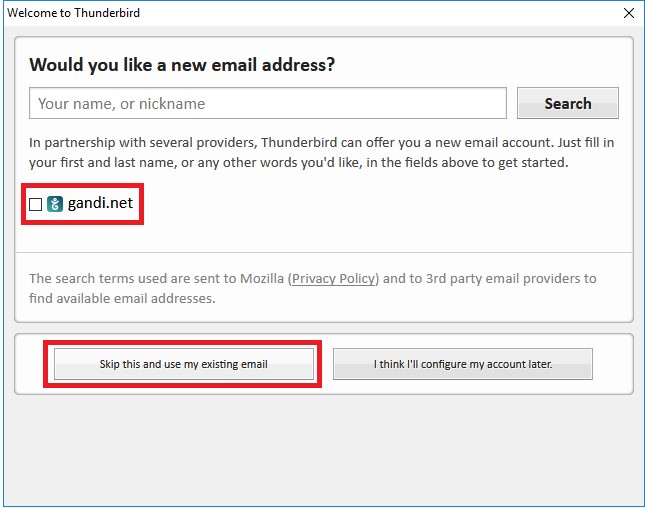
14. Welcome to Thunderbird! Uncheck gahdi.net and click on Skip this and use my existing email
15. Enter your first name and then last name
16. Enter your email address, and then your password
17. Let the Remember Password option to remain checked
18. Click Continue
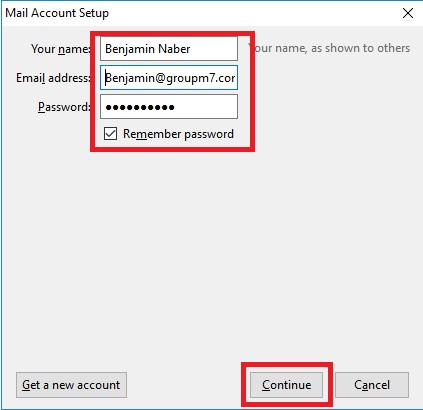
19. Thunderbird will perform a check in attempt to auto discover your email configuration.
For security measures, click on Manual config
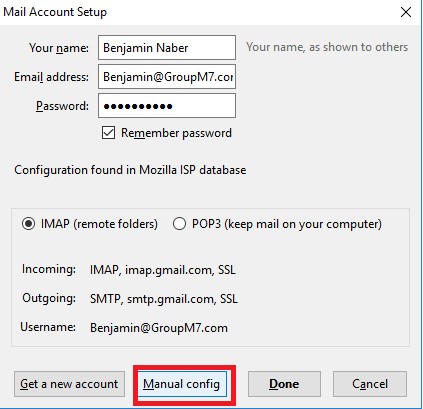
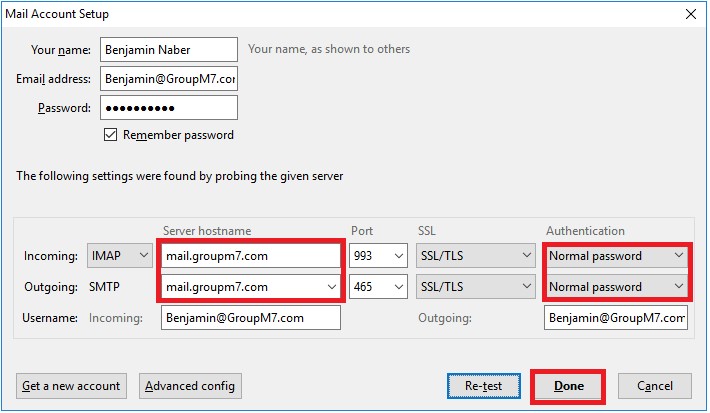
20. For both Incoming and Outgoing server hostname, enter mail.yourdomain.com
21. Under Authentication drop down boxes, select Normal password.
22. Click Done.
